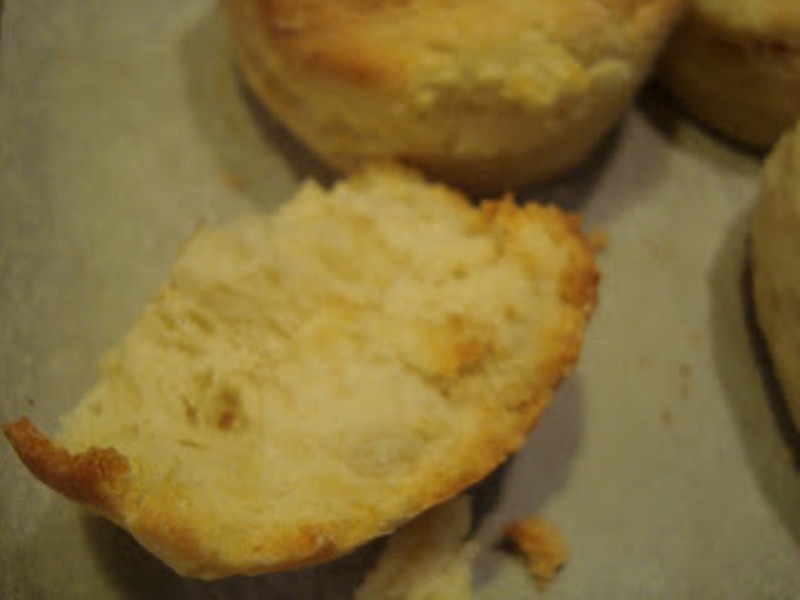
I have been baking or rather, trying to bake scones for the longest time to make them as perfect as they come in stores. It would either come out perfect from the oven and become hard when cooled, or the texture would be all wrong.
My perfect scones have always been associated with Gary Rhodes. I watched him bake these little babies over and over and over again. FINALLY I got a chance to try them out during a special birthday dinner my husband took me for at Rhodes Mezzanine in Dubai. Seriously, these scones melt in your mouth and to this day I have not tasted scones that could be any better. I’ve tried to use his scones recipe a number of times but I have to say they don’t even come close (of course, I am comparing my amateur self to a Celebrity Chef, but still).
Making scones is really an art I think. We had too much self raising flour lying at home and my husband wanted me to do something with it so he requested for Scones. A challenge again for me. I went on a bit of a hunt for a few days on tips and tricks on how to make the perfect scones and I finally came across some useful helpful information.
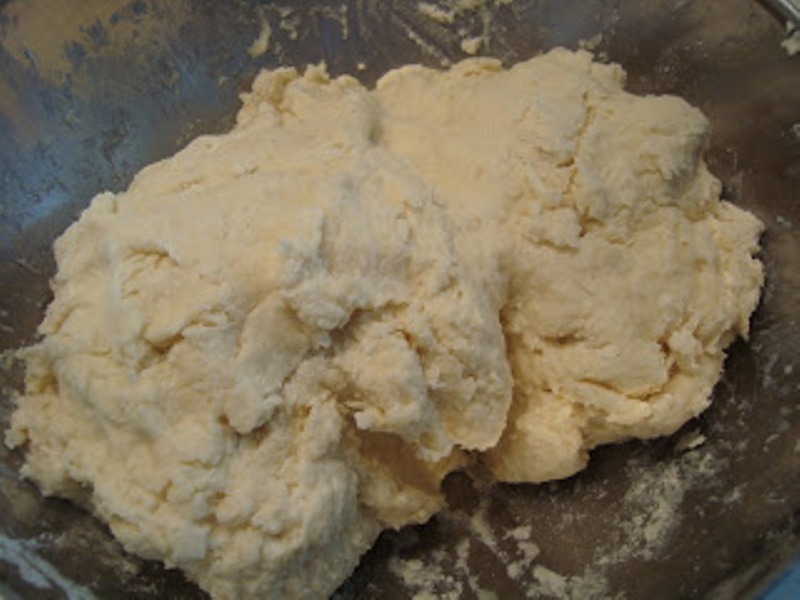
– The dough will be sticky, don’t panic
– Don’t work with the dough too much, just bring it together enough to form a dough
– I recommend wearing surgical gloves while mixing everything, it makes it much easier
I got this recipe from Taste and I made a tad bit of change to it but used it as a base.
Ingredients:
3 cups self-raising flour
80g butter, cubed, preferably at room temperature
1 1/4 cup milk
1 tbsp sugar
Directions:
80g butter, cubed, preferably at room temperature
1 1/4 cup milk
1 tbsp sugar
Directions:
- Preheat oven at 200 C and line a baking tray with baking paper/waxed paper
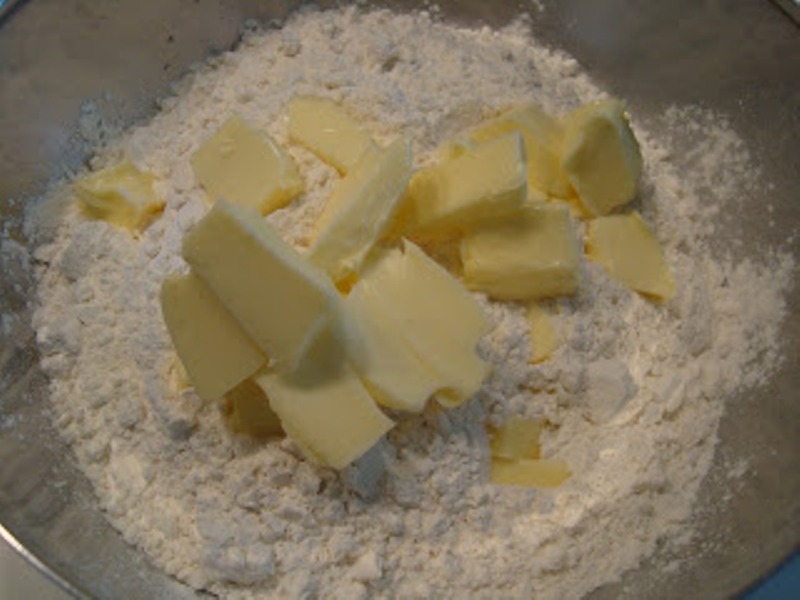
- Rub the butter and flour together with your fingertips until it resembles coarse bread crumbs
- Make a well in the centre and add milk a little at a time until the dough comes together. Remember it is okay is the dough is sticky, it’s a good sign
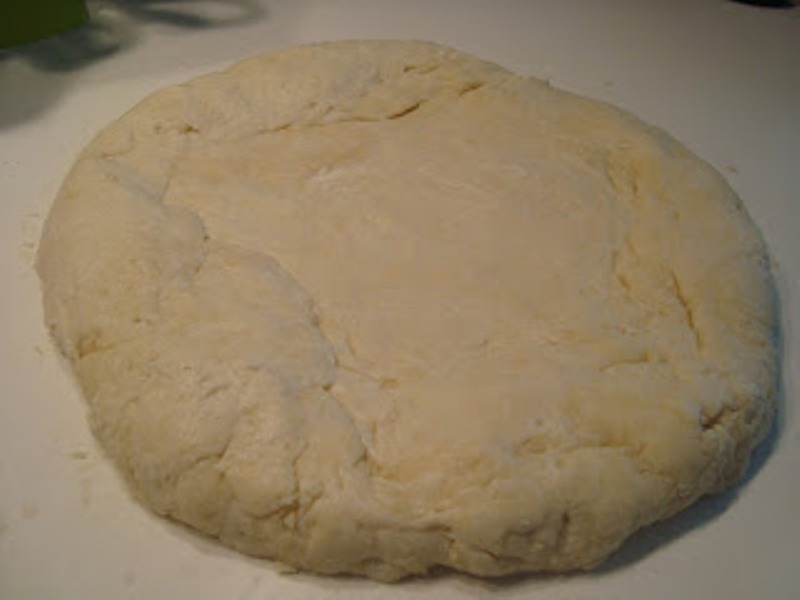
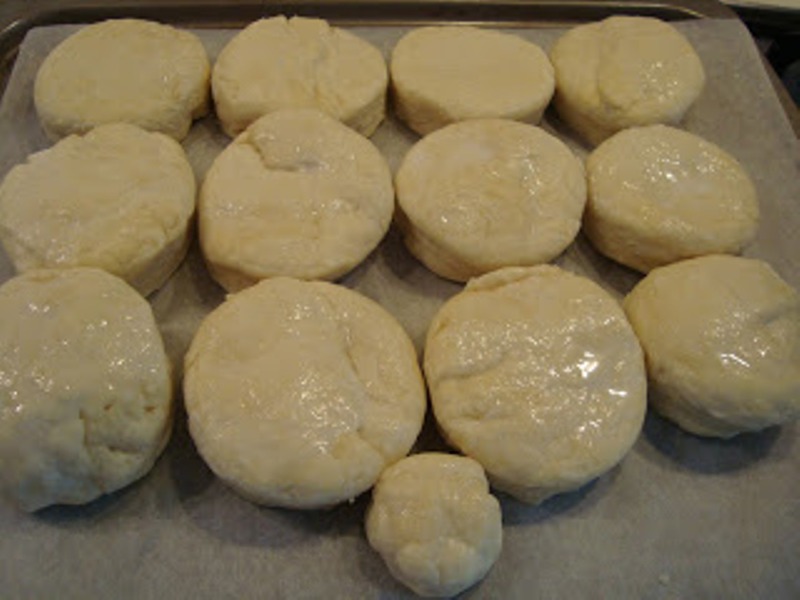
- Pat the dough together onto a floured surface and roll, very gently, to 2 cm thick
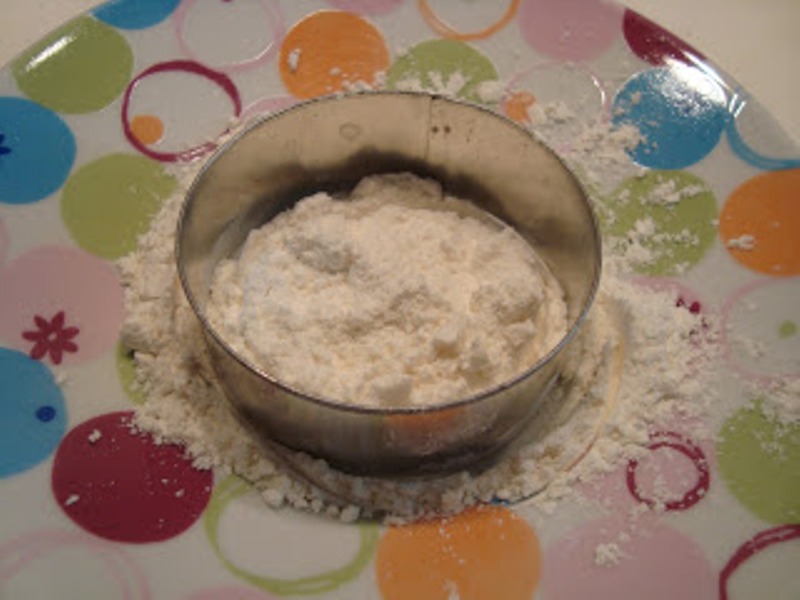
- If using a cookie cutter, make sure it is dipped in flour before cutting the shapes. DO NOT turn and pull out, otherwise the scones will rise unevenly
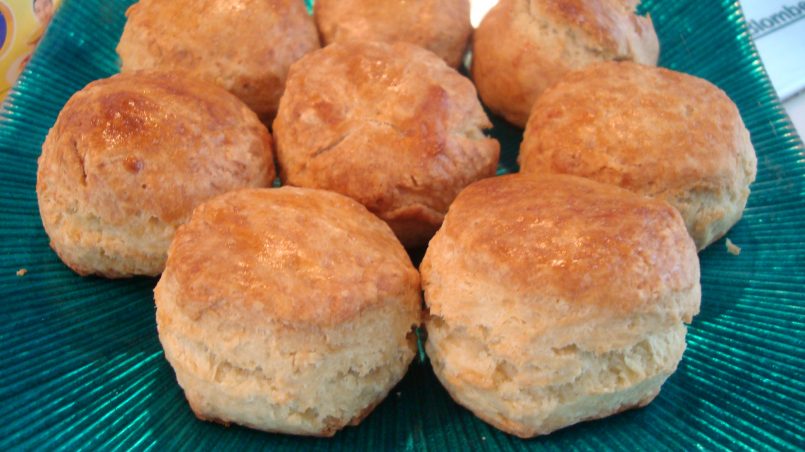
- Repeat until the dough is finished. It will make approximately 10-12 scones depending on the size of the cutters
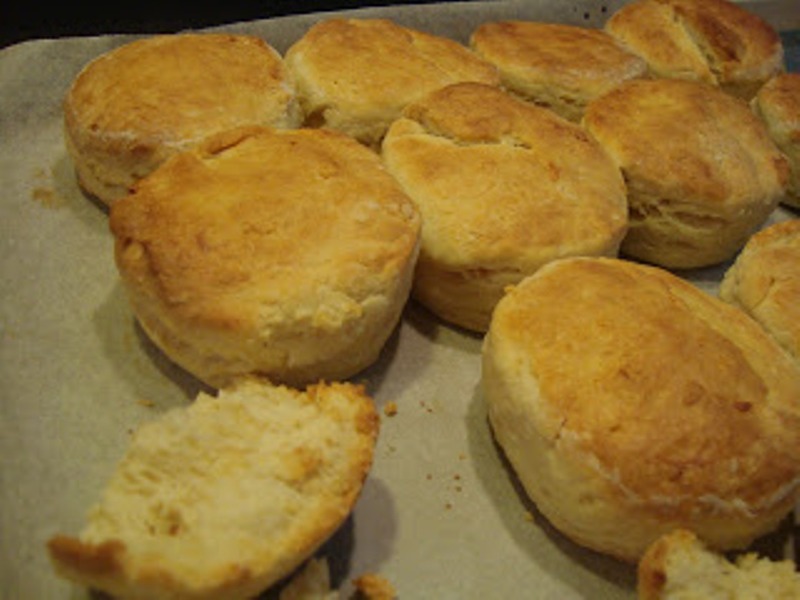
- Place on baking tray close to each other and brush egg wash or a bit of milk on the top for a nice brown colour
- Bake for 20 minutes