I won’t go into the details again of how I got to Maple Walnut Cake, but let’s just say my Maple walnut cake started off as a Red Velvet. I’d been meaning to bake a 3 layered Red Velvet Cake for months. I thought it would be the perfect occasion, and set my hopes up high…like really high!!!!
I fell so fast so flat on my face I can’t even begin to share my shame! The little experiments we did during Science lessons at school to make our volcanoes erupt with baking soda and vinegar couldn’t have turned out worse for me in the form of a failed cake!
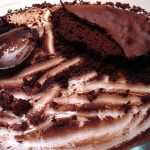
I mean my cake was so flat my husband was calling it a Red Velvet pancake:) Bless him for his sense of humour and lightening up a stressful situation! After my first flat cake or baked pancake, I gave up the three layered cake immediately and put the rest of the batter into one tin and proceeded with going with the approach of – damage control! Somewhere at the back of my head I was hoping I could pull off a 2 layered cake, but that didn’t work either. It would have just looked odd – damn you – baking soda and vinegar!
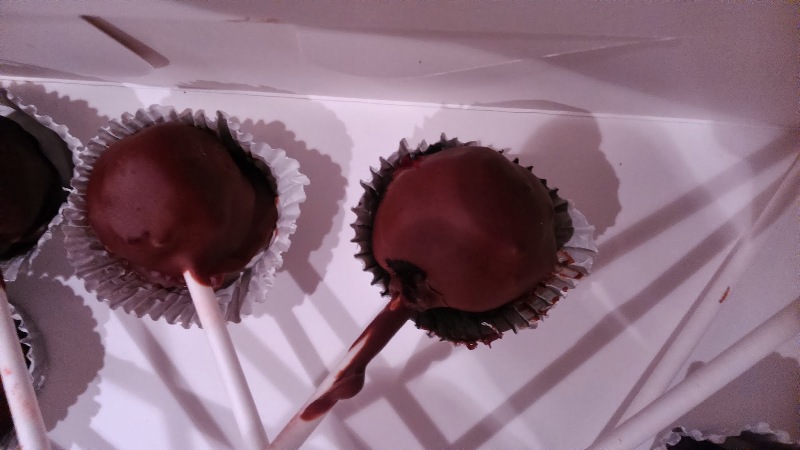
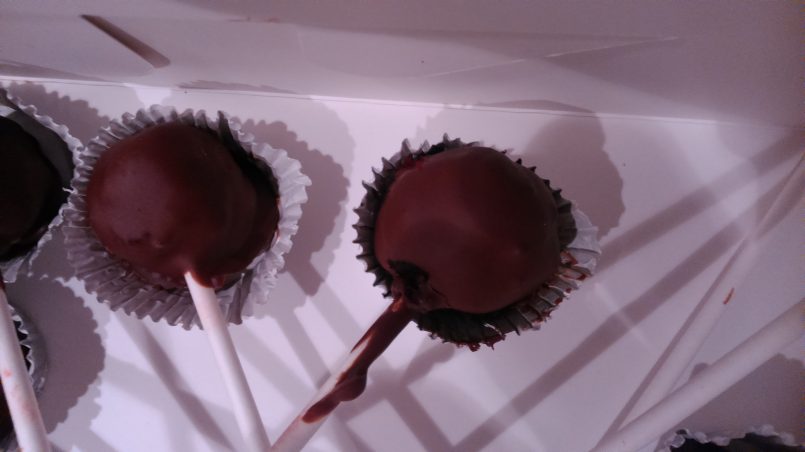
So instead of trashing perfectly edible cake I thought it might be useful to make something out of it ….. Cake Pops ….Cake balls, whatever you may want to call it. I was just relieved I didn’t have to eat all that cake or throw it – I took it to work the next day and people treated it as a sugar shot for those late afternoon energy dips.
Make sure you go easy on the frosting. It only needs about 2 tbsp to really hold everything together well, especially if your cake is nice and moist.
These make about 30 cake balls – the size of 1 tbsp, based on the fact that my cake didn’t rise:)
Ingredients:
1/4 cup oil
1/2 cup sugar
1 egg
2 1/2 tsp cocoa
8 tsp red food colouring
1/2 tsp vanilla extract
1/2 cup buttermilk
1/2 cup flour
1/2 tsp bicarbonate soda
1 1/2 tsp vinegar
2 tbsp Cream Cheese Frosting
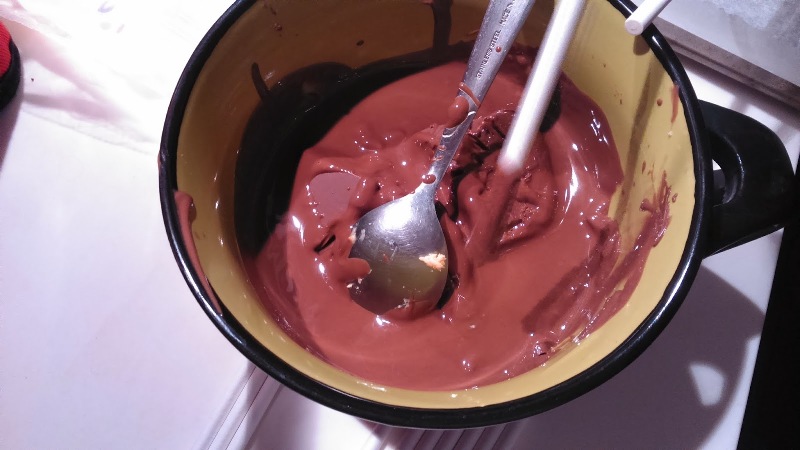
200g good quality Milk?/Dark or White melted chocolate
Directions:
- Heat oven to 170 C
- Cream oil and sugar together with a whisk until combined
- Add the egg until well incorporated
- Mix cocoa, vanilla and red colouring into a separate bowl until it forms a paste. It will look dark red, or even brown.
- Add the coloured mixture to the sugar mixture and whisk until the colour is evenly combined
- Add half the flour, stir gently and then add the buttermilk and stir again. Once combined, add the remaining flour, stir, combine and add the remaining buttermilk and combine
- Finally add the bicarbonate soda and vinegar. It will give this lovely sizzle so you know the cupcakes will rise.
- Gently combine thoroughly making sure you do not over mix the batter
- Bake in any dish that pleases you:) It’ll all crumble up anyway. A 9×13 will work well. Bake for for 15-20 mins or until a skewer inserted comes out clean
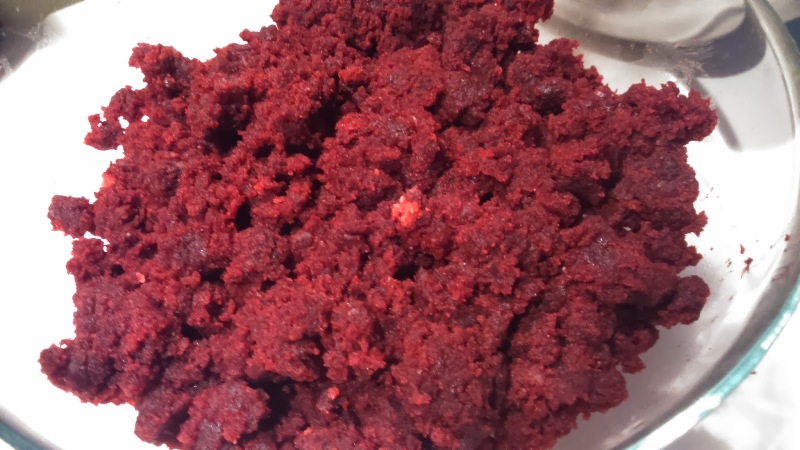
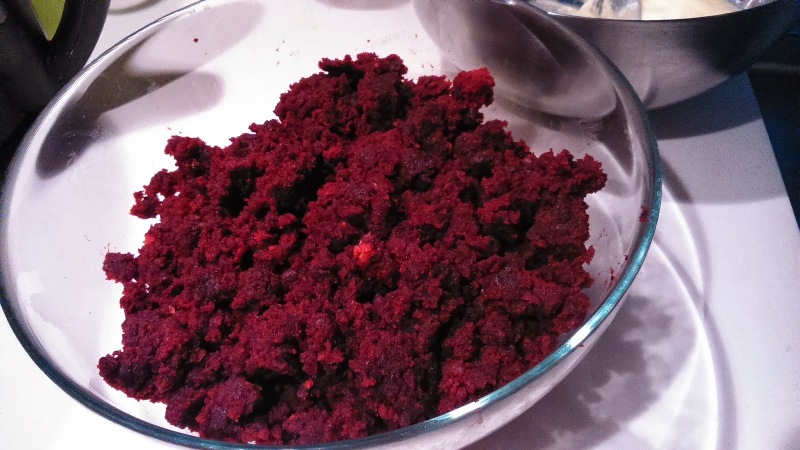
- Once the cake has cooled, crumble with your hand and mix in 2 tbsp cream cheese frosting
- Scoop out 1 tbsp balls and roll and melt the chocolate
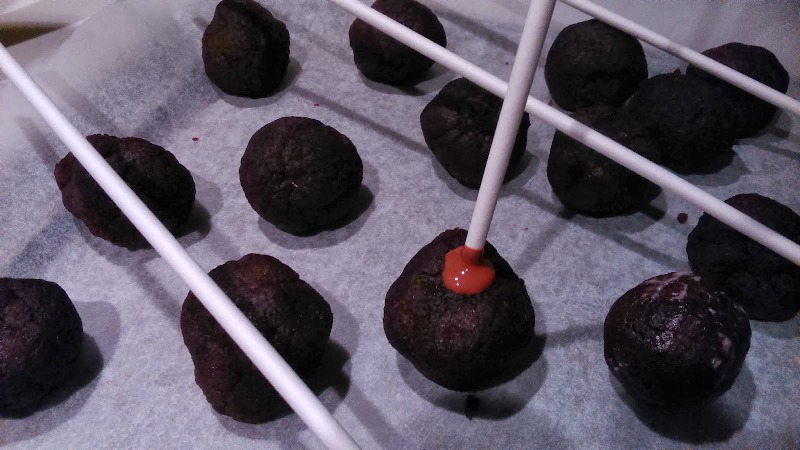
- Dip the lollipop sticks in the choclate and insert into the balls. Freeze for 10-15mins until set and stable
- Once set, dip the balls into melted chocolate roll around set and pop into freezer for an hour or two until set