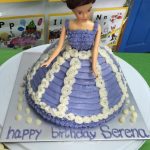
Last week I mentioned my daughters’ endless birthday celebration. It started in school, for which the Princess Cake was sent across with some Jelly Beans so the kids felt like there was a party in school.
Her birthday was over the weekend, so we did something simple of just going to a local bakery and getting some cupcakes – sugar high that day was allowed!
Her birthday party was planned 2 weeks post her actual birthday, gave me enough time to mentally get myself ready and also get over the Christmas break.
I won’t lie I planned her theme months in advance, it was going to be a Mr Men/Little Miss theme. My mother-in-law got the Mr Men collection last year and my Uncle got the Little Miss collection, so between the 2 of them they are covered with the original collections. They still haven’t gone through all of them, but bedtime is a fun ritual when they are in the mood for Mr. Men, they pick out 2 books each. My younger one picks the book closest to her personality ‘ Little Miss Stubborn’, her absolute favourite.
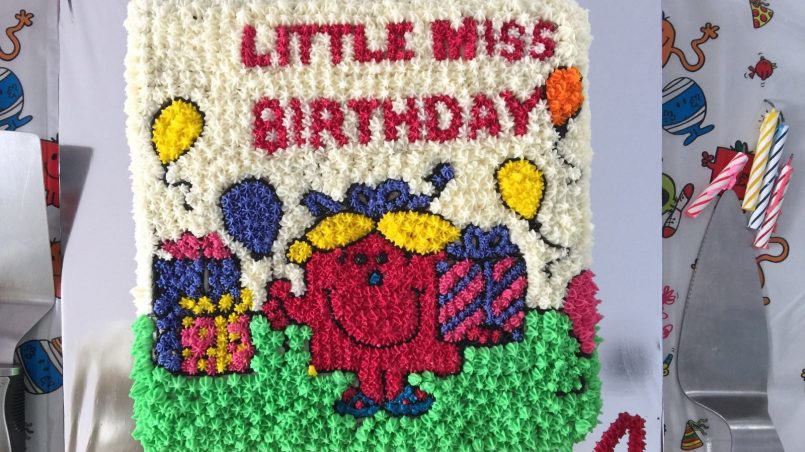
I didn’t realise what a nightmare having a Mr. Men theme would be, it’s not like Dora that party decorations and themes are available. Amazon UK was helpful and I managed to get the basics across and for the rest I made do. I was initially thinking of using some character my daughter loved, but then I thought Little Miss Birthday would be most appropriate, so while the party was just a Mr Men/Little Miss theme, the birthday cake was Little Miss Birthday and the Goody Bags had a Mr. Birthday cookie added into it (for next week’s post).
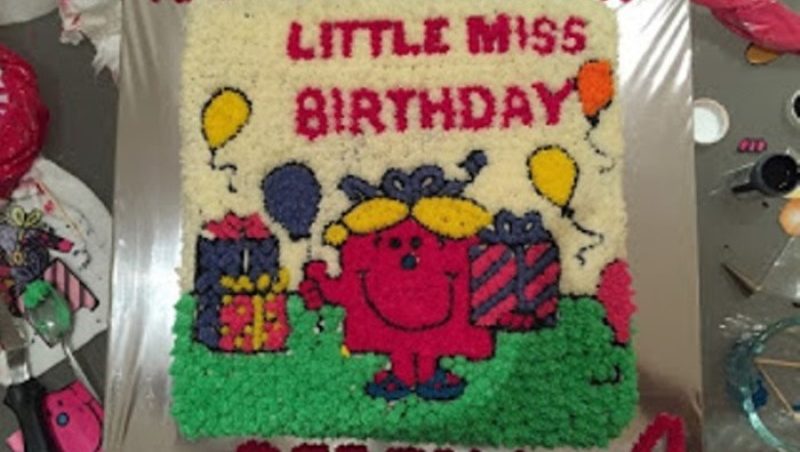
In case you aren’t familiar with the books, have a look here. And for Little Miss Birthday – which is not part of the original collection, here is what the book looks like:

YUP! I set some sort of bizarre task for myself to make the book cover as the birthday cake. Of course, with the picture above, you can tell I made it work – but it took FOUR hours! Yes, you are reading it right, FOUR HOURS to decorate the whole cake. And when I was done, I thought to myself, I CANNOT do this again for the younger one, maybe I can pay her and make her feel better when she grows up:P


The cake was a 12×12 and there was a lot of mental preparation that went into this before I started working on it. Here is what you will need:
1. 12 x 12 inch cake pan
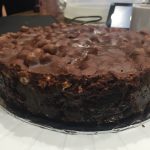
2. Chocolate Cake Recipe x 2 (for a 12 x 12 inch cake )
3. Butter Cream Frosting x 2
4. Tips #, 16, 18, 3, 4
5. Icing colours: Black, Kelly Green, Orange, Pink, Violet, Lemon Yellow
6. 12 x 12 print out of ‘Little Miss Birthday’ Book Cover
Directions:
- The Chocolate Cake is pretty soft, so once it’s cooled and removed from Cake Tin, place on serving board and start the crumb coating. Take a few big dollops of Frosting and cover the whole cake so all the crumbs settle down. Once done, put it in the fridge for set to set for at least 30 mins
- Once the cake is ready to be frosted, start with cutting out the grass and sky outline and place on cake to give a direction on division and placement of character and presents
- Then using the Wilton Tip #4 start outlining the cake all the way to the sides
- Once the outlining has been done fill a piping bag and Tip # 18 and start filling the grass with stars
- Next, using the pink icing and Tip# 18 again, write ‘Little Miss Birthday’. Mine was a bit off center, but still looked okay in the end
- Now use the white icing with tip #18 again, to fill the sky and the sides of the cake. Once you’re done with this, the cake will already start to come together
- Now, comes the hard bit, the little details that go into it and the main character along with her accessories
- Using Black frosting and Tip #3, start outlining the details of the presents, the shoes, fingers, hair tie, eyes, nose and mouth
- Now you can start filling the colours in. I’ve used Tip #16 for the presents, the hair tie and shoes
- Tip #4 is used for the dots on the presents and Tip #18 for filling Little Miss and the balloons and her yellow hair
- I recommend to frost in this order
- Pink Frosting for Little Miss
- Yellow Hair, Balloos and Presents
- Purple Ribbon, presents and balloons
- Lighter Pink for present filling
- Orange Balloon
- When you’re done with everything, you can write Happy Birthday on the board to wrap it all up.
Now rest up and let those fingers get some rest!!!