My older one just turned 4 last month. Time flies! I always look back at my blog on when I started this and think how long ago it was with how old Serena is. I started this when was 9 months old, she’s now just turned 4 and seems so long ago, yet just yesterday she was refusing to get past sitting at 9 months.
Now that she’s in school, versus her first 2 years, she is more aware and knows all about birthdays and parties and goody bags, so there’s no dodging them now and they have to be a grand event for her – which equal to a few friends coming over, having her favourite food and playing lots of games.
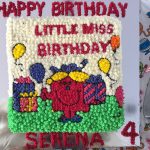
Lucky her, this time round we had an extended birthday celebration for her. We came back from our Christmas holidays only 2 days before her birthday so there was no way I was ready to throw a party right then, so instead I promised her a cake for school, my husband and I joined in the celebrations with my younger one and she called it a party. That was celebration #1, which is what the post is about today. Celebration #2 is another post altogether which is the actual party!!!
I bought the Princess Molds from Wilton some 2 years ago or more. I never used it cos there was just no occasion and both my girls are not into princesses yet. Serena has just started getting into princesses a teeny weeny bit and even then not so hung up on them. I thought it was an easy fix to whip up a Princess Cake 2 days after I landed back at home and in all honesty, it was.
You’ll need the Wilton Wonder Mold. This will just make your life super easy – I have no other way of sharing an easier way to make this cake.
For the cake, I used my Chocolate Cupcake/Cake Recipe and Chocolate Buttercream Frosting . If you have a recipe you would particularly like to use that should work well too. I always use Chocolate Cake for Birthday Cakes because I feel you can never go wrong with kids with that.
Buttercream Frosting:
1/2 Cup Butter
2 2/3 Cup Confectioner’s sugar
3 Tbsp Milk
1 1/2 tsp vanilla
Colours of your choice for the dress and decorations
Wilton Tip 18
Wilton Tip 104
Directions:
- Mix the butter and sugar together until it looks grainy
- Start adding milk 1 tbsp at a time and mix through until the required consistency is achieved, you want the icing to be slightly stiff/thick
- Finally add the vanilla and stir in
Directions to put the cake together:
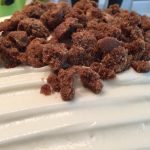
- I use one recipe of the Chocolate Cake and filled the whole Mold, and baked in the oven
- Let the cake cool overnight and it’ll be easier to get out of the tin.
- Prepare half the recipe of the Chocolate Frosting . Once out of the tin, split the cake in half to add a layer of Chocolate Frosting. Add a nice thick layer since the cake is pretty tall and the frosting will give it a break in the texture
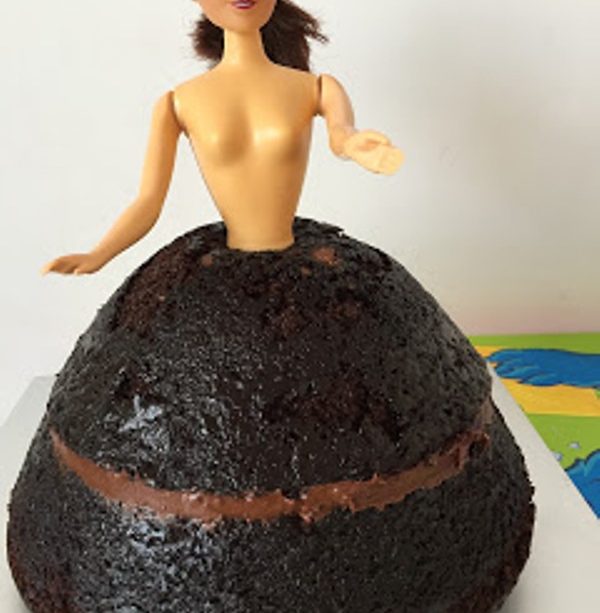
- Now that the base of the cake is set, plug the doll in and keep her arms up so it’s out of your way while you are decorating
- Now start working with the Butter Cream Frosting. Take the Plain Butter cream Frosting and coat the whole cake with a thin layer. Enough so all the loose crumbs of the cake stick to one place and don’t come through when decorating the cake
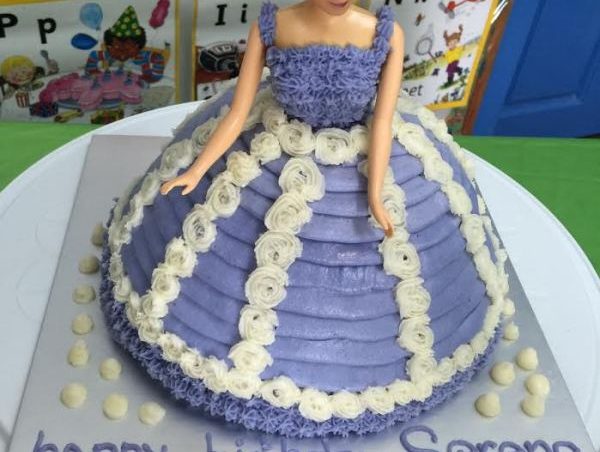
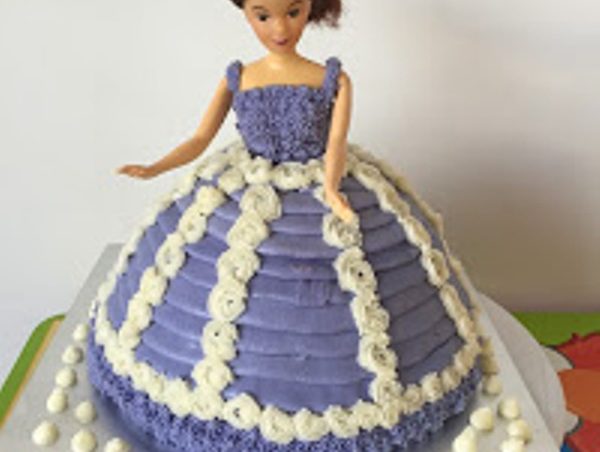
- The lilac colour was my daughters choice, you can choose whatever you like. To create the ruffles fill the piping bag and use Tip 104 and start from the bottom of the cake with your hand 45 degrees to the cake. A cake turn table is very useful at this point, and you can just keep turning the cake table slowly
- Keep repeating the Ruffles starting the second one 1/4 over the first one to create the layers, starting and ending at the same point
- Next take another piping bag, fill with the same colour and adjust Tip #18. Work on the base of the gown, to make sure it is all covered. If you notice my naked cake, there is a bit of a bump and not completely flat, I didn’t want to level it in case it lost height so instead I frosted the base to cover it. Use the star tip and make all around the base of the gown, my cake required 2 layers
- Next, using the same piping bag and tip make the shirt. I made the shirt out of star tips and the strap was just Tip 18 in a straight line
- Once done with the star tip 18, you’ll look at the dress and find your start and end point of the ruffle may not be very smooth. This is where the Rosettes play a role.
- Take another colour of your choice in a new piping bag and fit with tip # 18. Keeping your hand at an angle of 90 degrees create a star and without releasing start turning your hand from 9:00 to 12:00, 3:00 and stopping at 6:00. Release the pressure and bring the tip to the center to complete the circle and bring the layers of the rosette.
- Start at the base of the cake, going all around, then start at the top to make the vertical panels of rosettes. Finally work on the waist line, and add rosettes to complete the cake
- And there you have it, Your princess cake is ready.
1 Comment