
The holidays are coming, everyone is getting excited and there’s all this Christmas stress piling up. Cards to write, gifts to buy and of course – so many things to bake!
I’m honestly counting every single day to Christmas – literally!
I haven’t been on a break this entire year. So I’ve now reached the point where I just want to shut everything down and take a break. 11 months of working with no break has never happened to me. I usually plan a short break every quarter so there’s something to look forward to. But this year has been a bit shaky on so many fronts I just didn’t get around to planning and justifying a good break. So now, Christmas evening we head out to the airport, my husband, my babies and I – off to Australia. We’re going away for 2 weeks and joined by friends we haven’t met in a couple of years with their babies as well. We’ve never done a vacation with anyone but family, so this is all new for us but we’re all very excited. Melbourne, Sydney, Gold Coast & Brisbane. So excited to see the fireworks over Sydney Harbour and the Opera house.
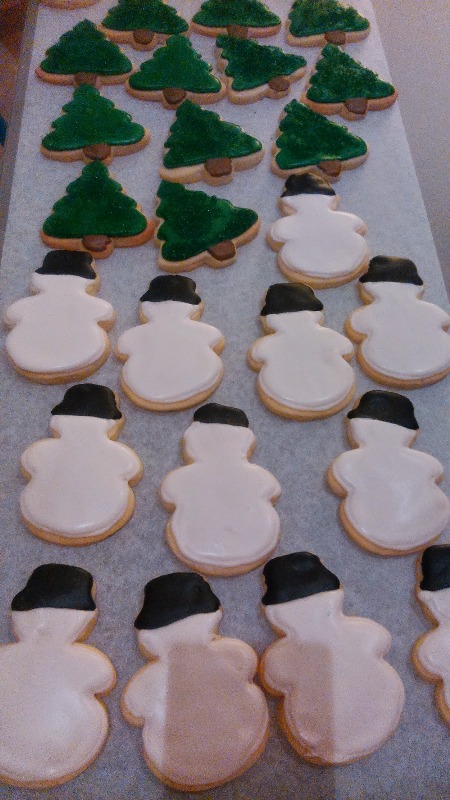
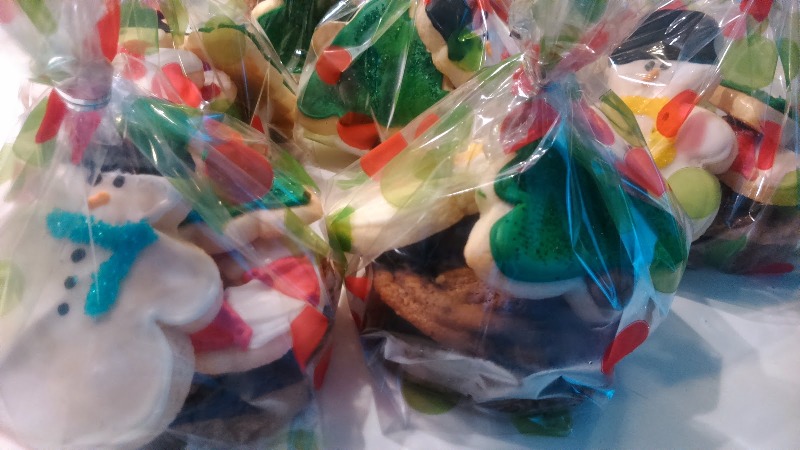
But before all the packing and the shut down from work begins there’re all these Christmas parties and Secret Santa’s and what not that need to be taken care of. This year my husband and I decided to do a Christmas goody bag for our colleagues. My husband makes the best Chocolate Chip Cookies, really it is the best. If you have had Ben’s Cookies and are a fan, then these are just as good if not better (I actually think they are better). So, he did the Chocolate Chip cookies and I did the Christmas Sugar cookies. Good God, this was a task we took on. Between his team and mine, we did 90 Chocolate Chip Cookies & 120 Christmas Cookies. But it’s over and they turned out beautifully.
I’ve used the Sugar Cookies recipe from my previous entries and tried out some new Royal Icing and added colour where needed.
Here are some tips from the last time I made them and how I have improved the icing.
- Let the cookies cool completely before applying any icing
- Outline the cookies first with thick icing, it should be toothpaste thick
- Let it dry completely, at least 10
- mins or more, and then fill in the icing with a more runny version ( I do prefer this not to be too runny)
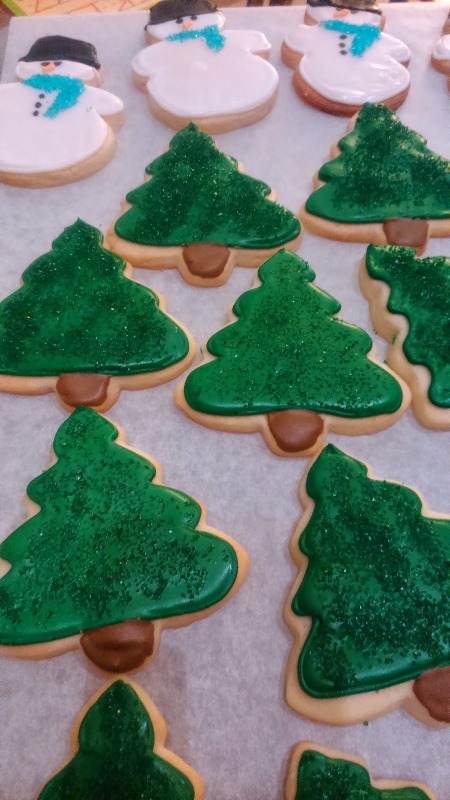
- Add on any sprinkles or decorations if using, otherwise let it dry over night
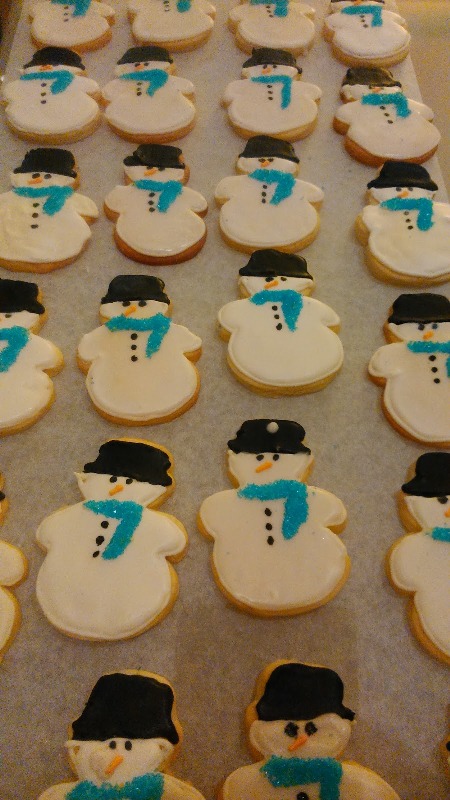
- I used an edible black marker to make the eyes and buttons of the snowman, it was easier
- Take some white icing and make the scarf for the snowman after the snowman has dried completely. Dip the snowman into coloured sugar to make the scarf